International Shipping
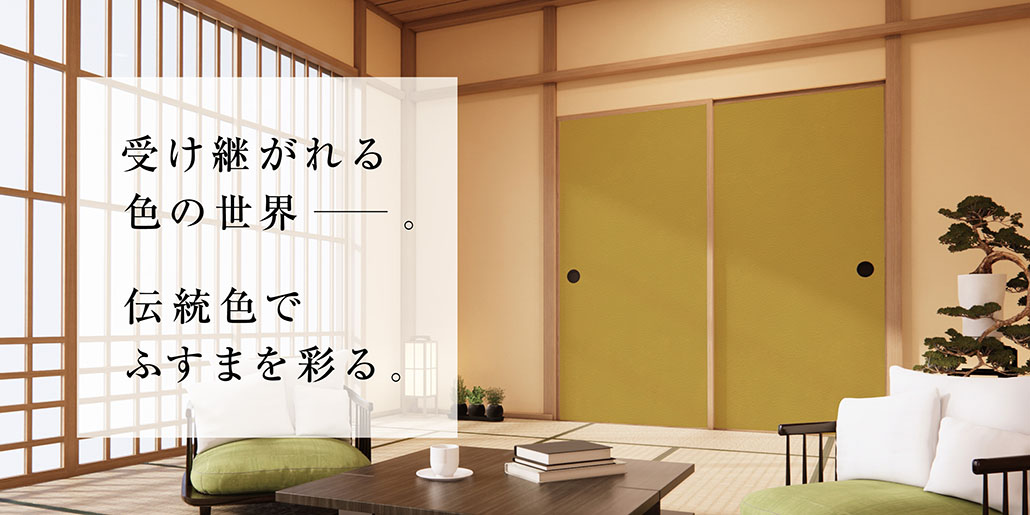
障子紙の貼り方(越境)
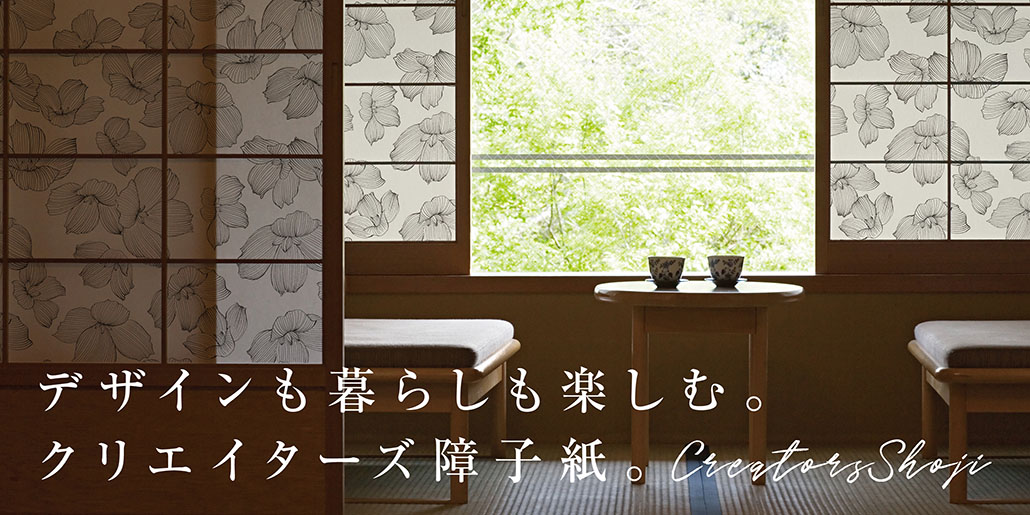
How to Apply Designer Shoji Screen Paper
- ・A sponge or cloth
- ・Tape
- ・Shoji glue (starch-based glue)
- ・Utility knife
Remove the shoji screen and peel off the old paper.
Dampen the slats of the shoji screen with a wet sponge or cloth, and slowly peel off the old paper. Be sure to let the wet frame dry completely afterward.
Key Point :
Be sure to take plenty of time to thoroughly prepare!
Any bits of old paper or paste left behind could cause adhesion problems. Remove these thoroughly to ensure that the new shoji screen paper adheres smoothly and cleanly.
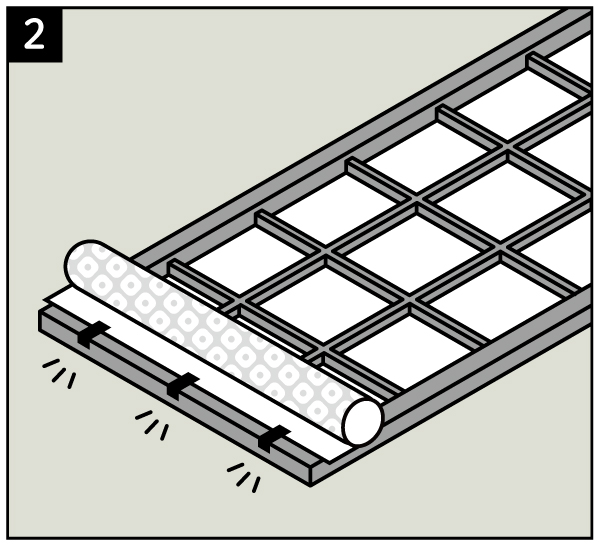
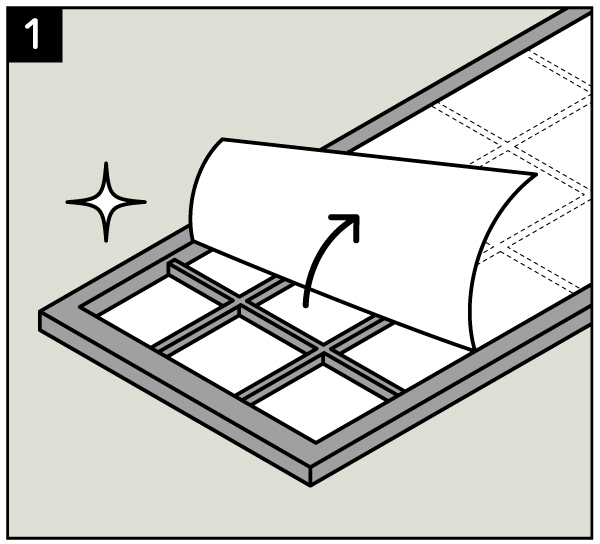
Position the paper on the shoji screen and temporarily secure it in place with tape.
Lay the shoji frame on the floor or other flat surface, and spread the paper over the slats to check that it isn’t warped. Once you’ve positioned the paper, temporarily secure the top edge in place using masking tape, etc. Make sure that the edge with the Harokka logo printed in the margin is at the top. Roll up the shoji screen paper up to the temporarily taped location. The patterned side is the adhesive side, so take care not to confuse the sides.
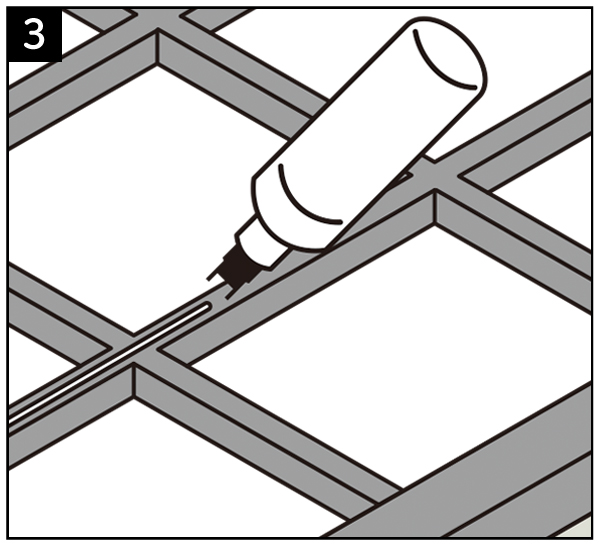
Apply paste to the shoji frame.
Use a thick (somewhat firm) starch-based paste to secure the shoji screen paper. Dip a brush into the paste and spread it over the slats of the frame. Using our shoji paste allows for quick and easy application without getting your hands dirty.
Key Point :
Apply the paste evenly and uniformly!
Take care to apply the paste evenly over the slats.
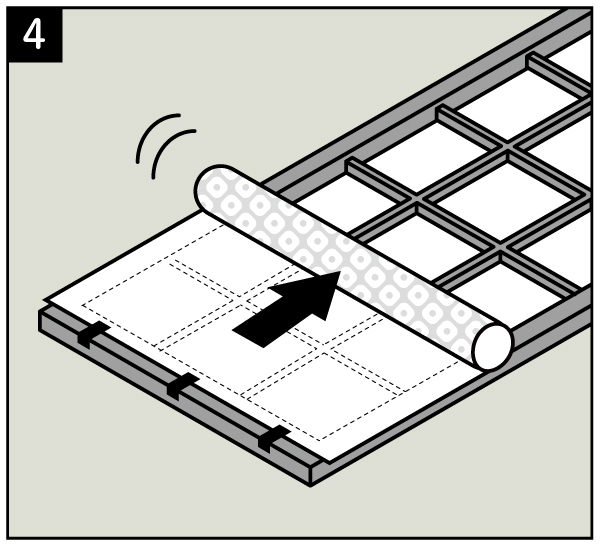
Slowly unroll the paper, adhering it as you go.
Before the paste dries, carefully roll the paper out over the slats, adhering it as you go. Keep the paper taut to avoid sagging, and press it on as you go. Once finished, press along the slats from the center outward to secure the paper firmly in place.
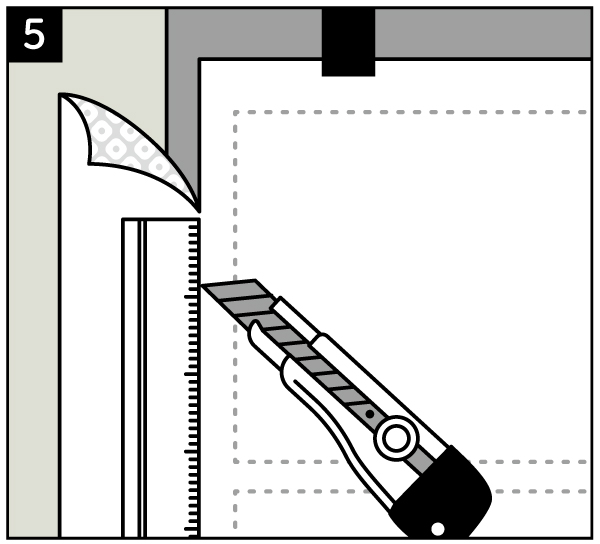
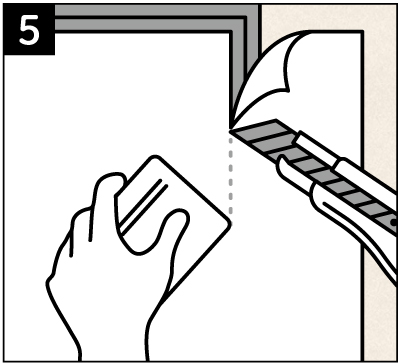
Trim off any excess shoji screen paper extending beyond the frame.
After applying the paper, let the paste dry about half way. Then, hold a ruler along the frame and use a utility knife to trim off the excess paper. Remove the cut pieces to complete the process.
Key Point :
If the paper isn’t taut enough...
If the paper is insufficiently taut, mist it with water lightly and evenly after the paste has completely dried.
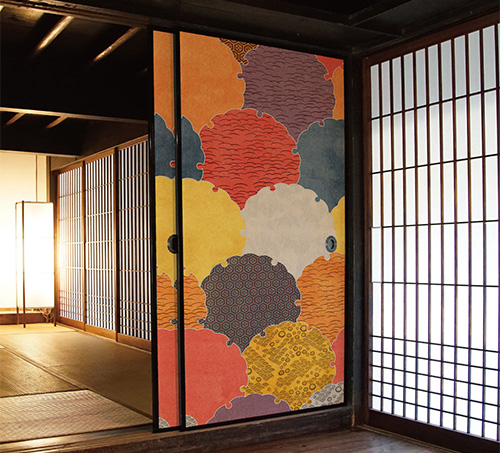
ふすま用リメイクシールの上手な貼り方(越境)
How to Apply Decorative Fusuma Sheets
- ・Utility knife
- ・Squeegee
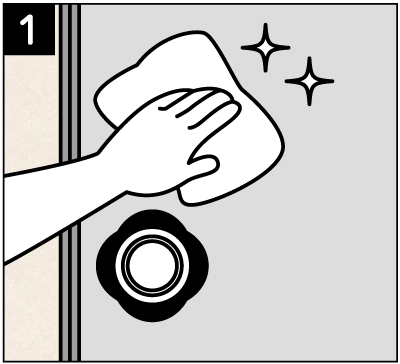
Remove the sliding door and clean the surface.
Remove the door from the sliding track, and use a tightly-wrung cloth to wipe away any dust or dirt from the surface where the sheet will be applied. After cleaning, allow the surface to dry completely.
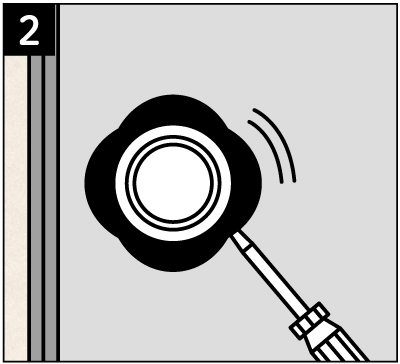
Remove the sliding door handle.
Insert a flathead screwdriver or small pry bar to detach the handle.
*If it is secured using nails, first use pliers to remove them.
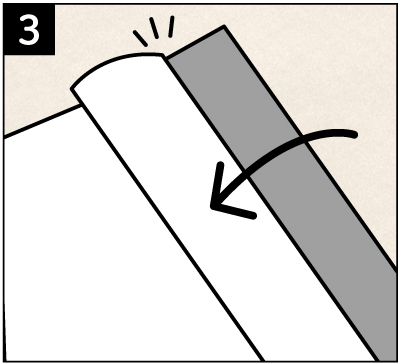
Peel back a small section of the backing paper and properly position it over the sliding door.
Peel back about 10cm of the backing paper, make a crease, and then return it to its original position. After properly positioning the sheet over the surface you want to cover, adhere the portion from which you peeled back the backing paper.
Key Point :
Position carefully for the best results!
Once adhered to the surface, the sheet cannot be removed, so be sure to position it carefully.
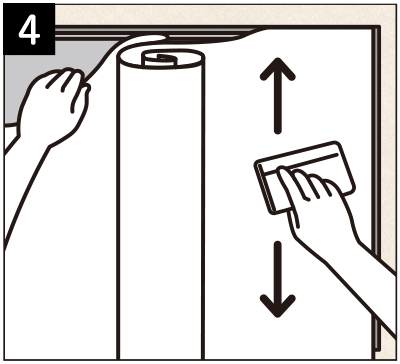
Peel off the backing paper little by little, applying it to the surface as you go.
While slowly peeling off the backing paper, smooth the sheet onto the surface from the center outward to force out any trapped air. Use a squeegee to press down firmly, working carefully from one edge of the sliding door.
Key Point :
Press firmly to prevent lifting!
If insufficient pressure is applied, parts of the sheet may begin to lift after several days.
Trim off any excess portions of the sheet extending beyond the door.
After fully applying the fusuma sheet, run a squeegee firmly along the edge where the sheet meets the sliding door frame to create a clean crease, then cut along the crease using a utility knife. After trimming, go over the edge again with the squeegee, pressing down firmly to ensure a smooth, secure finish.
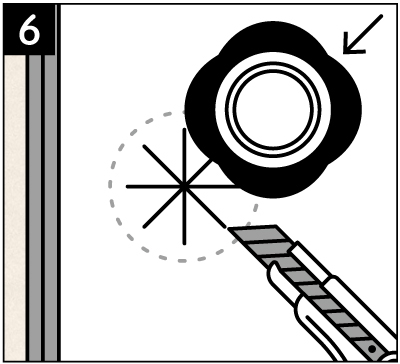
Make a cut for the handle and reattach.
Make a cut matching the inner diameter of the handle hole (or an X-shaped cut if
the handle is square), and use a utility knife to trim away any excess portions of the sheet around the
edge of the hole.
Reattach the handle and enjoy your renewed Japanese sliding door!
Category
こちらのページは海外からのお客様専用となっております。日本国内にお住まいのお客様はご購入いただけませんのでご注意ください。
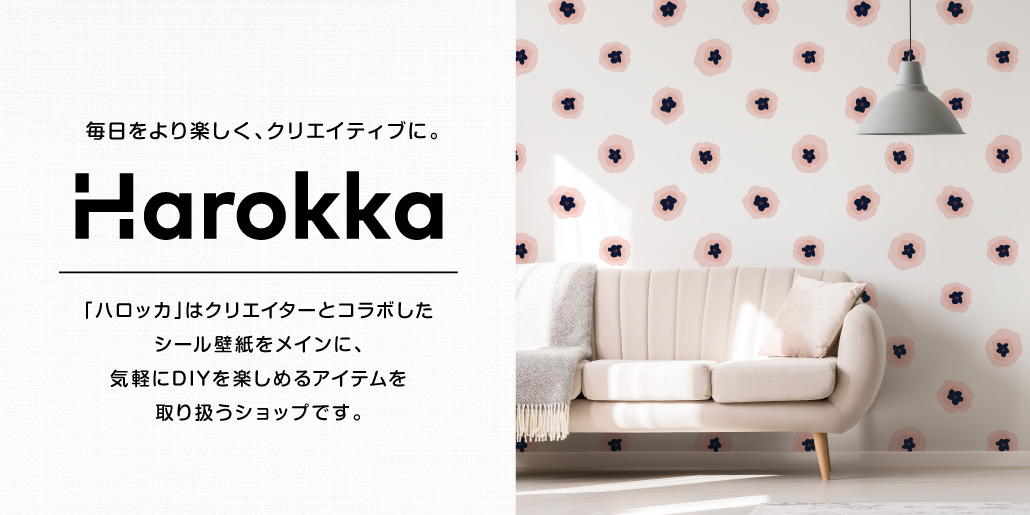
From Harokka to the World
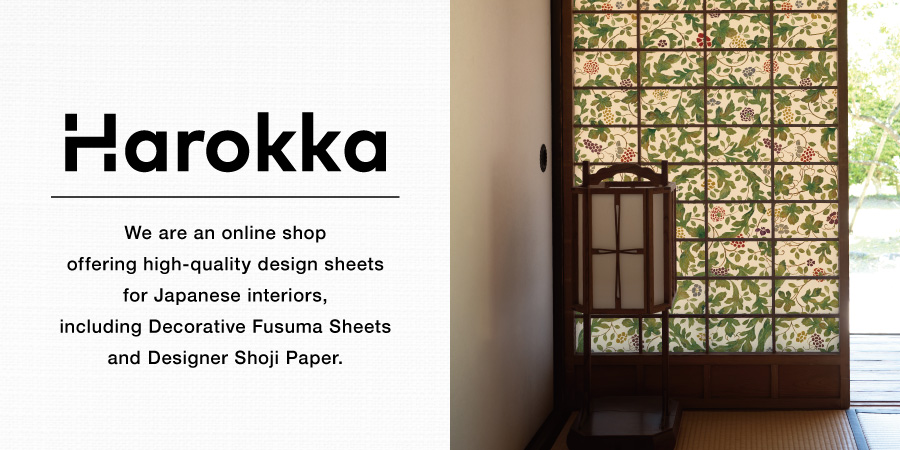
Make every day
more joyful and creative.
Welcome to Harokka’s International Store.
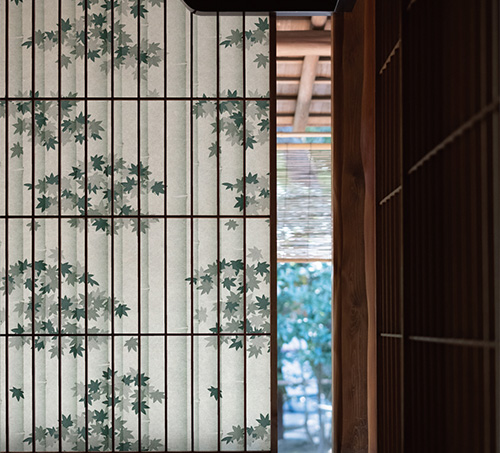
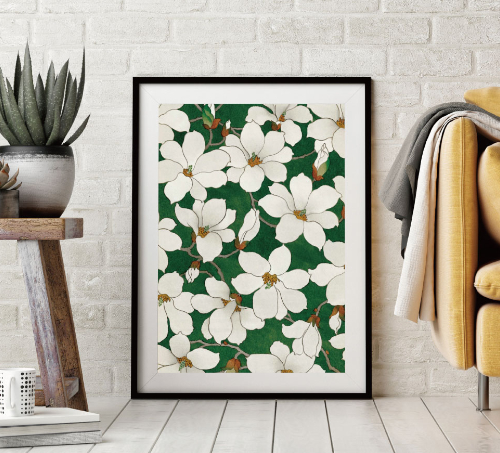
Discover modern Japanese design through our Decorative Fusuma Sheets and Designer Shoji Paper, inspired by
traditional kimono motifs.
These easy-to-apply, design-forward sheets let you transform your space with confidence.
Bring the quiet elegance of Japan into your everyday living space.
So, what will you create
with Harokka?
ご利用ガイド
クレジットカード決済、PayPay、楽天ペイ、d払い、代金引換、銀行振込(前払い)、郵便振替(前払い)、Paidy(あと払いペイディ)がご利用いただけます。
※代引手数料、銀行振込手数料、郵便振替、ペイディ手数料はお客様ご負担となります。
※沖縄県を含む一部離島地域は、お支払い方法にペイディはお選びいただけません。